


Log in


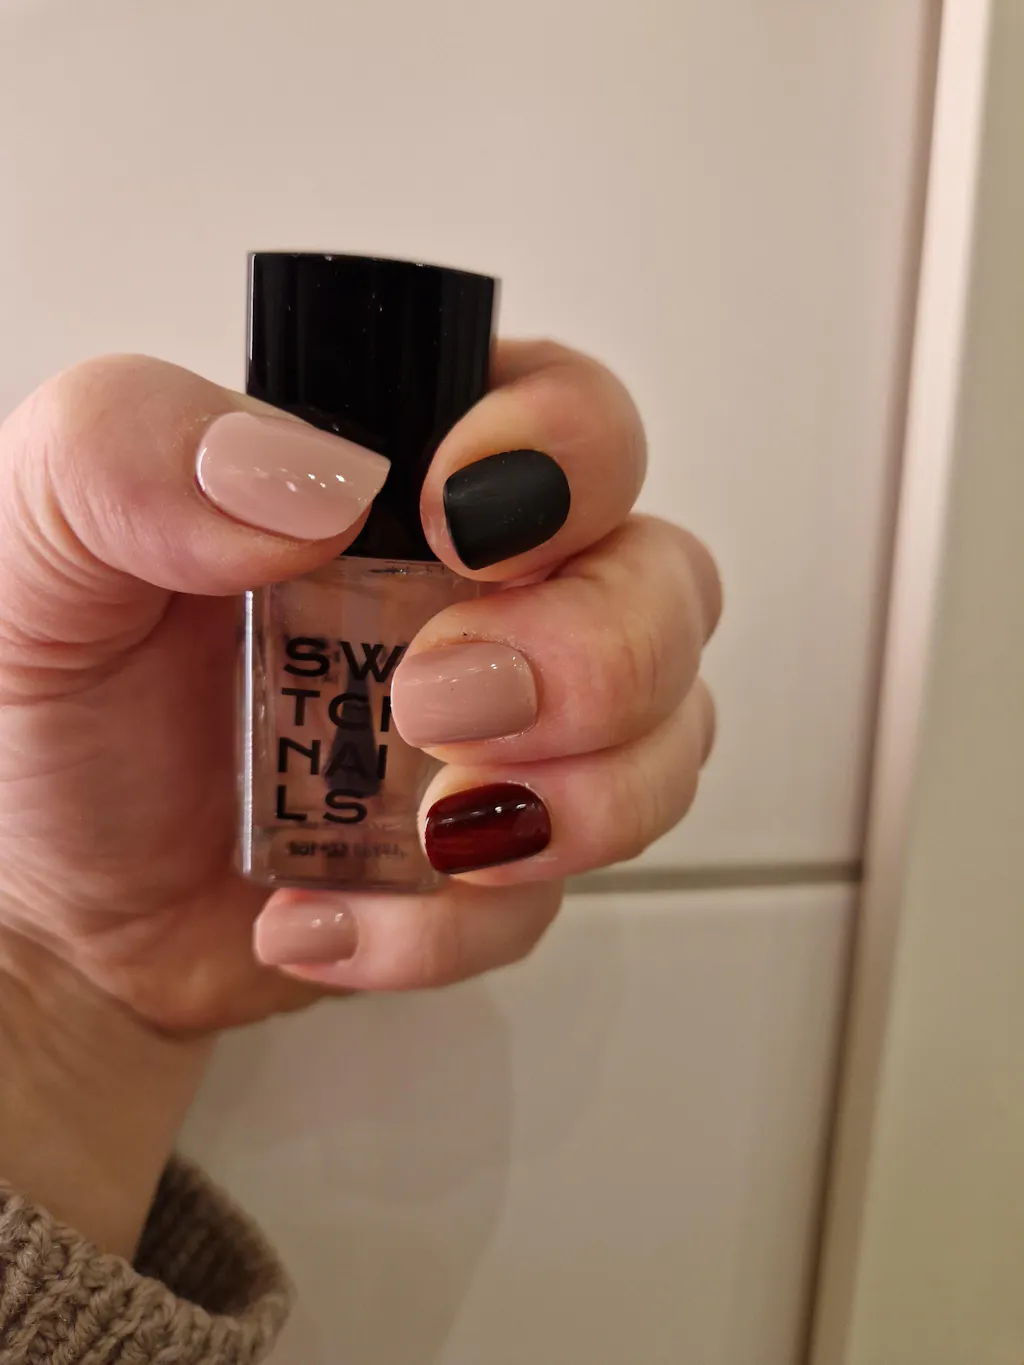
Combo: Glossy & Matte Top Coat
- Regular price
-
318 kr - Regular price
- 249 kr


Combo: Glossy & Matte Top Coat
This Combo includes:
• Glossy Top Coat
• Matte Top Coat
Note: Combos and kits cannot be combined with other offers or changed to other models. Combo products can only be returned in their entirety.
Top Coat Glossy: Butyl Acetate, Ethyl Acetate, Nitrocellulose, Adipic Acid/Neopentyl Glycol/Trimellitic Anhydride Copolymer, Isopropyl Alcohol, Dipropylene Glycol Dibenzoate, Acrylates Copolymer, Styrene/Acrylates Copolymer, Trimethyl Pentanyl Diisobutyrate, Octocrylene
Top Coat Matte: Ethyl Acetate, Butyl Acetate, Nitrocellulose, Adipic Acid/Neopentyl Glycol/Trimellitic Anhydride Copolymer, Acetyl Tributyl Citrate, Isopropyl Alcohol, Hydrated Silica, Silica Dimethyl Silylate, Stearalkonium Bentonite, Trimethyl Pentanyl Diisobutyrate, Octocrylene, Polyethylene, Polyvinyl Butyral, Citric Acid
1. Make sure your natural nails or press-ons are clean and free from dust and oils before you begin.
2. Start from the back third of the nail and slightly push the brush towards the cuticles.
3. Pull the brush along the right side of the nail focusing on the right cuticle line.
4. Repeat on the left side of the nail.
5. Start from the back third of the nail again, push the brush towards the cuticle and pull it straight towards the tip.
6. Seal the free edge by doing 2-3 strokes along the tip and almost go a little bit underneath the nail to really cap it.
7. Let it dry for a couple of minutes and you’re ready to go!
Fast global shipping with tracking. Several shipping options will be available in the checkout.
- Sweden: 1–3 business days
- EU: 2–5 business days
- Norway & UK: 2–5 business days
- Rest of World: 3–7 business days
Free returns within 30 days.
Why use a Top Coat?
Your hands are constantly in motion. Just like natural nails, press-ons are exposed to friction, minor scratches, discoloration, and daily wear. By applying a protective top coat, any surface wear affects the clear layer first, not the design underneath.
A top coat can also be used to refresh a previously worn set, restoring shine and giving your nails a renewed, glossy finish.
How often should you apply?
This depends entirely on your lifestyle and how much wear your nails are exposed to. For some, one application per wear is enough. Others may prefer to reapply during the week for extra protection.
The most important step is sealing the tip of the nail. This prevents lifting and helps protect the edges from friction. For detailed application guidance, please refer to the instructions on the packaging or visit the product page on our website.
Important to know about removers
All removers, whether acetone-based or acetone-free, are designed to dissolve polish. This means they should always be used sparingly to protect the structure of your press-ons.
If you choose to use a remover, we recommend testing it on a spare size first to ensure compatibility. Even gentler removers should be used carefully, as their purpose is to break down product layers.
We are currently developing a Switch Nails remover specifically formulated to be more compatible with press-ons. Until then, we advise minimal use and refreshing with a new layer of top coat instead whenever possible.
I need help! Can I talk to someone?
Of course! Just contact us and one of our professional nail techs will help guide you to the perfect shape for your nails.

Back in stock alert
We’ll notify you when this product is back in stock! Enter your e-mail below and you’ll get the notification.
Thank you for subscribing!
We’ll notify you when this product is back in stock!
Choose your shapes & styles


Press-on Guide
New to Press-On Nails? No worries - we will help you get the nails you always dreamed of.
Find your nail shape

We have 4 different shapes:
- Square in 2 sizes: Extra Short & Short
- Almond in 1 size: Short
- Oval in 1 size: Short
- Ballerina in 1 size: Short
Swipe to find your perfect shape.

SQUARE - EXTRA SHORT
Square shape with a naturally soft-curved tip. Best suited for short to medium length nail bets with a flatter curve

SQUARE - SHORT
Square shape with a sharp, straight edge. Ideal for longer or more curved nail beds. A straight, classic shape that keeps its width along the sides instead of tapering.

ALMOND - SHORT
A tapered almond shape with a softly pointed tip. Best suited for medium length nail beds with a moderate curve.

OVAL - SHORT
Oval shape with a gently rounded tip. Best suited for medium to long nail beds with a flatter curve.

BALLERINA - SHORT
A tapered shape with a sharp, straight tip. Ideal for longer or more curved nail beds.
How to apply
Follow our 3 simple steps for long-lasting, beautiful looking nails.
1. Prep
A good prep is the key to lasting nails! Make sure you push your cuticles back with the cuticle tool, buff your nails with the nail file and sanitise your nails with the alcohol wipes.
2. Apply Gluetabs
Choose a Gluetab that fits your natural nail, covering as much area as possible without touching the skin. Usually, you need to go a bit bigger than you think. Remove the protective film, apply the Gluetab on your nail, rub it in using your fingers and the cuticle tool. Finally, gently remove the remaining protective film using the cuticle tool as aid. You can also peel it off by using your fingers.
3. Apply Press-Ons
Apply the press-on nails on your dominant hand first. Place the press-on nail at the base of your nail and slightly push it under your cuticle. Fold it down, hold and press for about 10-20 seconds. Apply the thumbs last. This should never hurt! If so, you need to go up a size or try a different shape.
How to Remove & Reuse
1. Removing Press-On's
The easiest way is to use the included cuticle stick and gently push it in between the press-on nail and your natural nail on the sides. Drag the tool back and forth on both sides until the press-on nail pops off. Never use any force!
2. Removing Gluetabs from Press-On's
To remove Gluetab residue from the press-on nails, you can use the cuticle tool. Use the pointy part of the tool and start spinning it to collect any glue residue.
You can also carefully scrape the nail with the cuticle tool. To remove Gluetabs from your own natural nails, please use our Remover Wipes.
3. Removing Gluetabs from natural nails
The easiest way to remove glue residue from your natural nail is to use the cuticle tool and our Remover Wipes. They will gently remove any residue from your natural nail.
Be careful around your press-on nails as this solvent can affect the plastic. If you want to save your press-on nails, make sure to remove them all before cleaning up the gluetab residue with the wipes. Only use the wipes on your natural nails and NOT on the press-ons.
Consult an Expert

Not sure about which shape to choose? Contact us for a personal consultation with a professional nail tech!
Switch Nails was founded by Celina Rydén, a professional nail tech with over 20 years experience in the nail industry. All our team members are professionally trained nail techs who are happy to help with a personal consultation.
Please email us at info@switch-nails.com or use our contact page.
Nails our Community Loves! 🤍


You might like
Så bra topplack, torkar fort:)
Toppenkvalitet!
Hantering, applicering, resultat 🌟🌟🌟🌟🌟
Bra topplock. Snabb torknings tid. 😀
Perfekt pensel form. Perfekt konsistens. Perfekt torktid. De är perfektion i flaska. Bästa jag prövat. Är supernöjd
.
Reviews in Other Languages
Bra lack för att skydda naglarna. Torkar snabbt och lätt att applicera.
Funkar jättebra för ändamålet
Dessa topplack är helt otroliga. Så lätta att applicera, och de får naglarna som nya! Det glansiga får bort alla repor och ojämnheter, medan det matta ger naglarna ett helt annat utseende. Så nöjd!!